ADVANCED INTERACTIVE DESIGN - PROJECTS
ADVANCED INTERACTIVE DESIGN - PROJECTS

LECTURES
Lecture 10: Final Project Briefing
18/6/20 (Week 10)
We were briefed on the requirements for our final project and Mr Lun taught us more about patch editor in Spark AR.
Lecture 12: -
9/7/20 (Week 13)
We did not have lecture this week but we had consultation for Final Project.
Lecture 13: -
16/7/20 (Week 14)
We did not have lecture this week as we continued our final project.
INSTRUCTIONS
PROJECT 1 - INTERACTIVE APPLICATION
Idea Generation
Week 1 - Week 2
For project 1, we are required to create a UI Animation from our own app design of an online shop. The requirements are 5 pages without maximum pages, interface transitions/animations, working button using scripts. Before we start, we have to think of ideas on what online shop we are going to do.
Ideas :
1. Cake Ordering System
2. Poke Bowl Ordering System
3. Flight Ticket Booking System
I decided to go with Idea 1 which is the Cake Ordering System where users can customise their own cake. I researched about the ui animation references to show during consultation. In addition, I did wireframes and also user flow.
Idea 1 : Cake Ordering System
This app allows customers to order their cake online. The customers can choose the flavours, decorations, toppings and any other additional requests. It's more like customising your own cake that you desired. Last will be payment stage and inputting the address to be delivered.
After choosing and deciding on the idea, we had to do the wireframes and also flowchart to help us visualise before starting to design the assets.
Feedback : I showed Mr Lun my slides and he commented that it's good but it would be better if I use left and right button instead of swiping left and right. This is because swiping left and right needs script to do and we only have a short time to do project 1. He also suggested me to cut down the number of screens. After the feedback, I decided to include the left and right buttons and also remove the splash screen, create account screen and home screen.
Link to google slides :
https://docs.google.com/presentation/d/1qlBXbksVlguAMCfKyd3jXo1Htm_L9H6DJps1QSsiDks/edit?usp=sharing
Week 3 - Week 4
I started designing the ui by including the images of cakes that I'm going to include in Adobe XD. Here's the design of the screens :
Prototype Walkthrough Video :
Week 5 - Week 6
After doing the assets, I start animating in Adobe Animate. Mr Lun instructed us to think about how we want to animate the UI. I took reference from existing UI and tried to replicate the animation.
I requested Mr Lun for tutorial to make the left and right button works. He advised me to use gotoAndStop script and also make the assets to movie clip. He also gave us tutorial in the next class and here is the script:
Final Result (Screen Recording UI)
Final Compilation Slides of Project 1
The "technical" requirement for project 2 are:
- usage of native ui picker (button option)
- background replacement
- face/head tracker
This application allow users to try on a filter where they are wearing superhero eye mask. (For example: batman eye mask). To add more excitement, there will also a background, emoji/star following the head.
Next, I wanted to animate the illustrations in After Effects so that it has animation. Then, I exported to PNG sequences to import in Spark AR.
Final Result Submission
Final Outcome Microsite:
Final Outcome SparkAR (tested in phone using SparkAr Developer App):
Fig 2.16 SPARK AR Result
FEEDBACK
Week 2
Specific Feedback : Mr Lun said that my idea and wireframes are good but try not to include swipe left and right because it requires script to do that (also we only have few weeks to do this project). He suggested me to use left and right button instead. In addition, he also suggested me to cut down the number of screens to 5.
Week 3
Specific Feedback : Mr Lun said that the design overall looks good and I should start animating in Adobe Animate.
Week 4
Specific Feedback : The animation looks okay but can be further improve. For example the cake could be animated scale/size instead of position.
Week 5
Specific Feedback : No feedback was given as we have to finish Project 1.
General Feedback : Finish and submit project 1 so that we can start on Project 2 / SparkAR. You can add background for ur html by using Dreamweaver.
Week 5
Specific Feedback : No feedback was given as we have to finish Project 1.
Week 6
No feedback was given
Week 7
Specific Feedback : The eye mask can be done, follow the requirement of the project 2 which includes native ui picker(button), background replacement, face/head tracker. For the head tracker, 3d plane could be added around the face. Add emoji/star/love following the head.
Week 8
No feedback was given.
Week 9
No feedback was given.
Week 10
No feedback was given.
Week 11
Specific Feedback : My Proposal is accepted and I was suggested to add image sequences in Spark AR for the illustrations.
Week 12 - Week 14
No feedback was given as we had to finish our final project.
14.04.20 - 29/7/20(Week 1 - Week 14)
Maydeline (0335392)
Advanced Interactive Design
Projects
Maydeline (0335392)
Advanced Interactive Design
Projects
LECTURES
Lecture 10: Final Project Briefing
18/6/20 (Week 10)
We were briefed on the requirements for our final project and Mr Lun taught us more about patch editor in Spark AR.
Lecture 11: Fixed Target Tracker Effect
25/6/20 (Week 11)
Mr. Lun shared a online tutorial on a method we can use for our final project which is the fixed target tracker effect.
25/6/20 (Week 11)
Mr. Lun shared a online tutorial on a method we can use for our final project which is the fixed target tracker effect.
9/7/20 (Week 13)
We did not have lecture this week but we had consultation for Final Project.
Lecture 13: -
16/7/20 (Week 14)
We did not have lecture this week as we continued our final project.
INSTRUCTIONS
PROJECT 1 - INTERACTIVE APPLICATION
Idea Generation
Week 1 - Week 2
For project 1, we are required to create a UI Animation from our own app design of an online shop. The requirements are 5 pages without maximum pages, interface transitions/animations, working button using scripts. Before we start, we have to think of ideas on what online shop we are going to do.
Ideas :
1. Cake Ordering System
2. Poke Bowl Ordering System
3. Flight Ticket Booking System
I decided to go with Idea 1 which is the Cake Ordering System where users can customise their own cake. I researched about the ui animation references to show during consultation. In addition, I did wireframes and also user flow.
Idea 1 : Cake Ordering System
This app allows customers to order their cake online. The customers can choose the flavours, decorations, toppings and any other additional requests. It's more like customising your own cake that you desired. Last will be payment stage and inputting the address to be delivered.
After choosing and deciding on the idea, we had to do the wireframes and also flowchart to help us visualise before starting to design the assets.
 |
| Fig 1.1 User Flow Attempt 1 |
 |
| Fig 1.2 Wireframes Attempt 1 |
Feedback : I showed Mr Lun my slides and he commented that it's good but it would be better if I use left and right button instead of swiping left and right. This is because swiping left and right needs script to do and we only have a short time to do project 1. He also suggested me to cut down the number of screens. After the feedback, I decided to include the left and right buttons and also remove the splash screen, create account screen and home screen.
 |
| Fig 1.3 Wireframes Attempt 2 |
 |
| Fig 1.4 User Flow (Revised) |
https://docs.google.com/presentation/d/1qlBXbksVlguAMCfKyd3jXo1Htm_L9H6DJps1QSsiDks/edit?usp=sharing
Week 3 - Week 4
I started designing the ui by including the images of cakes that I'm going to include in Adobe XD. Here's the design of the screens :
 |
| Fig 1.5 Process in Adobe XD |
 |
| Fig 1.6 Home Page (1st Page) |
 |
| Fig 1.7 2nd Page (Choosing Size) |
  |
| Fig 1.8 3rd Page (Choosing Shape) |
  |
| Fig 1.9 4th Page (Choosing Flavour) |
 |
| Fig 1.10 4th Page (Choosing Flavour) |
 |
| Fig 1.11 4th Page (Choosing Flavour) |
 |
| Fig 1.12 5th Page (Choosing Frosting) |
 |
| Fig 1.13 5th Page (Choosing Frosting) |
 |
| Fig 1.14 5th Page (Choosing Frosting) |
 |
| Fig 1.15 6th Page (Choosing Toppings) |
 |
| Fig 1.16 6th Page (Choosing Toppings) |
 |
| Fig 1.17 6th Page (Choosing Toppings) |
 |
| Fig 1.18 7th Page (Checkout) |
 |
| Fig 1.19 8th Page (Notification) |
Prototype Walkthrough Video :
Fig 1.20 Prototype Walkthrough
Week 5 - Week 6
After doing the assets, I start animating in Adobe Animate. Mr Lun instructed us to think about how we want to animate the UI. I took reference from existing UI and tried to replicate the animation.
 |
| Fig 1.21 Animating in Adobe Animate |
 |
| Fig 1.22 Script for Page Transition |
I requested Mr Lun for tutorial to make the left and right button works. He advised me to use gotoAndStop script and also make the assets to movie clip. He also gave us tutorial in the next class and here is the script:
 |
| Fig 1.23 Script for buttons for cake selection |
Final Result (Screen Recording UI)
Fig 1.24 Final Result Animated UI
Fig 1.25 Slides Project 1
PROJECT 2 - SPARK AR FACEBOOK / INSTAGRAM - FILTER
28/5/20 (Week 7)
For Project 2 , we are required to create an augmented reality application by using the SparkAR software. We had to think of an idea that falls on either one of the four categories:
1. Campaign awareness
2. Online shop (testing different glasses, lipstick, eye makeup)
3. Selfie/fun filter
4. Mask
- usage of native ui picker (button option)
- background replacement
- face/head tracker
Here are my ideas :
1. Animal Fiter
This application allow users to try on a filter like the famous snapchat dog filter (Fig 2.2). As you can see from the reference, there are dog ears and also dog nose. I am going for a similar approach but different animals and more variety. To add more excitement, there will also a background, emoji/star following the head.
This application allow users to try on a filter like the famous snapchat dog filter (Fig 2.2). As you can see from the reference, there are dog ears and also dog nose. I am going for a similar approach but different animals and more variety. To add more excitement, there will also a background, emoji/star following the head.
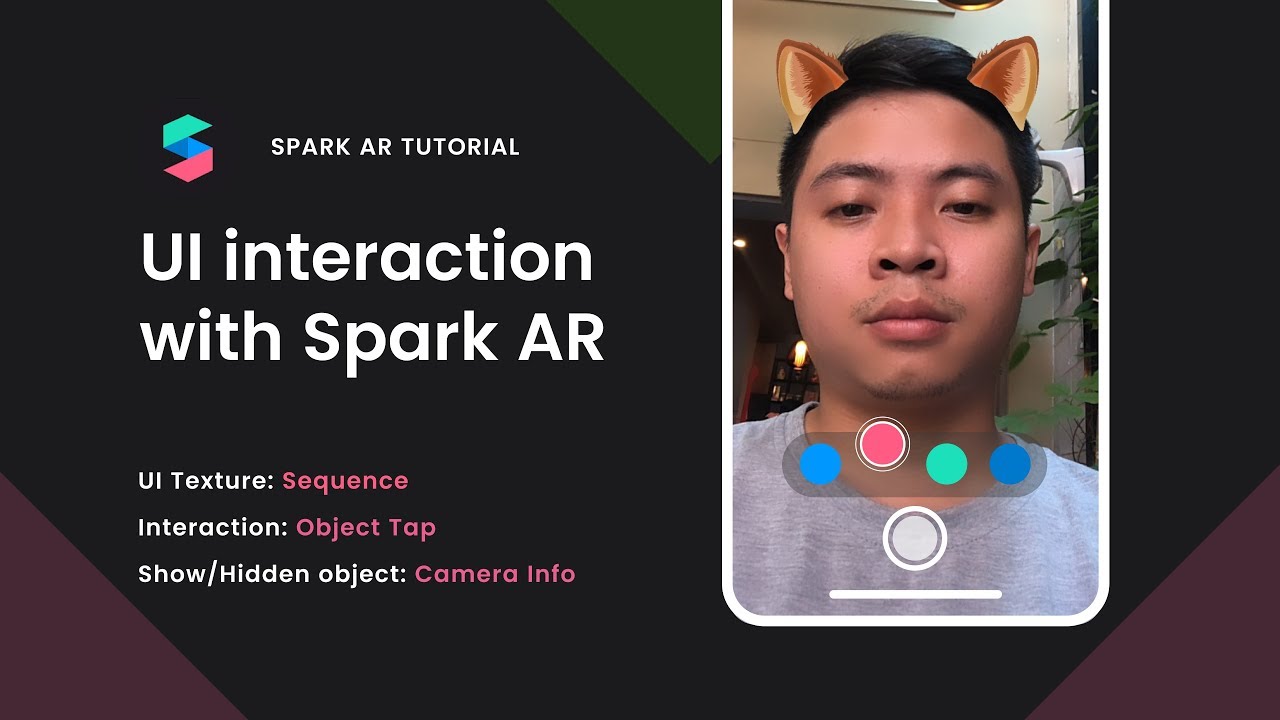 |
| Fig 2.1 Reference for animal filter |
 |
| Fig 2.2 Reference (snapchat dog filter) |
Feedback: The animal filter can be done but done use the tutorial (Fig 2.1) because it's a tutorial of an old version of SparkAR. But overall, the nose and ear can be done.
2. Superhero Mask
 |
| Fig 2.3 Superhero Mask Reference |
I consulted with Mr Lun about the Superhero Mask and at first I wanted to do full face but Mr Lun told me that it can't be done using face paint because of some feature that is outside of the face, but he said that it is a nice idea. I decided to go with the Superhero eye mask and Mr Lun said it can be done.
 |
| Fig 2.4 Superhero eye masks reference |
Feedback : The eye mask can be done, follow the requirement of the project 2 which includes native ui picker(button), background replacement, face/head tracker. For the head tracker, 3d plane could be added around the face. Add emoji/star/love following the head.
Here is my proposal for Project 2 :
Fig 2.5 Proposal Project 2
Moving on, I started doing the assets in adobe illustrator. I created the 3 superhero masks and also 3 different background images. The superheroes that I decided to include are Batman, Spiderman and the Flash. I tried to match the background with the superheroes.
Left: Batman (with the background of city at night)
Middle: Spiderman (with the background of Spiderman's web)
Right: The Flash (with the background of Flash's animated lightning)
Left: Batman (with the background of city at night)
Middle: Spiderman (with the background of Spiderman's web)
Right: The Flash (with the background of Flash's animated lightning)
 |
| Fig 2.6 3 Mockups |
After that, I import the assets into Spark AR. Mr Lun taught us how to use the native ui picker so that we can change the filter and background.
 |
| Fig 2.7 Progress for UI Picker 1 (Flash) |
 |
| Fig 2.8 Progress for UI Picker 2 (Spiderman) |
 |
| Fig 2.9 Progress for UI Picker 3 (Batman) |
I also added additional features, for example when the user opens her/his mouth, there will be speech bubble popping out. Another thing is I added royalty free audio.
Here are the results which I recorded in Spark AR and also phone (using instagram camera):
Final Outcome
Here are the results which I recorded in Spark AR and also phone (using instagram camera):
Final Outcome
Fig 2.10 Final Outcome Project 2
FINAL PROJECT - Design, Exploration & Application
Ideation / Proposal
25/6/20 (Week 11)
Ideation / Proposal
25/6/20 (Week 11)
This week we had to start doing the proposal for Final Project. We were briefed about our final project that we had to create a microsite to promote our app and also effect for the merchandise that is going to appear if we scan it using our app. The merchandises are from https://www.taylorsmerchandiseshop.com. Mr Lun told us we could also redesign the merchandise as long as there is Taylor's logo in it and it's trackable.
Here is my proposal :
Fig 2.11 Proposal Final Project
I started on creating the assets in Illustrator. The assets are mostly people/students and some elements that represent each faculty.
 |
| Fig 2.12 Illustrations |
 |
| Fig 2.13 Process in Adobe Animate |
Next, I wanted to animate the illustrations in After Effects so that it has animation. Then, I exported to PNG sequences to import in Spark AR.
 |
| Fig 2.14 Process in SPARK AR |
Final Result Submission
Final Outcome Microsite:
Fig 2.15 Microsite Final Outcome
Final Outcome SparkAR (tested in phone using SparkAr Developer App):
Fig 2.16 SPARK AR Result
FEEDBACK
Week 2
Specific Feedback : Mr Lun said that my idea and wireframes are good but try not to include swipe left and right because it requires script to do that (also we only have few weeks to do this project). He suggested me to use left and right button instead. In addition, he also suggested me to cut down the number of screens to 5.
Week 3
Specific Feedback : Mr Lun said that the design overall looks good and I should start animating in Adobe Animate.
Week 4
Specific Feedback : The animation looks okay but can be further improve. For example the cake could be animated scale/size instead of position.
Week 5
Specific Feedback : No feedback was given as we have to finish Project 1.
General Feedback : Finish and submit project 1 so that we can start on Project 2 / SparkAR. You can add background for ur html by using Dreamweaver.
Week 5
Specific Feedback : No feedback was given as we have to finish Project 1.
Week 6
No feedback was given
Week 7
Specific Feedback : The eye mask can be done, follow the requirement of the project 2 which includes native ui picker(button), background replacement, face/head tracker. For the head tracker, 3d plane could be added around the face. Add emoji/star/love following the head.
Week 8
No feedback was given.
Week 9
No feedback was given.
Week 10
No feedback was given.
Week 11
Specific Feedback : My Proposal is accepted and I was suggested to add image sequences in Spark AR for the illustrations.
Week 12 - Week 14
No feedback was given as we had to finish our final project.
Advanced Interactive Design - Projects >>>>> Download Now
ReplyDelete>>>>> Download Full
Advanced Interactive Design - Projects >>>>> Download LINK
>>>>> Download Now
Advanced Interactive Design - Projects >>>>> Download Full
>>>>> Download LINK n0